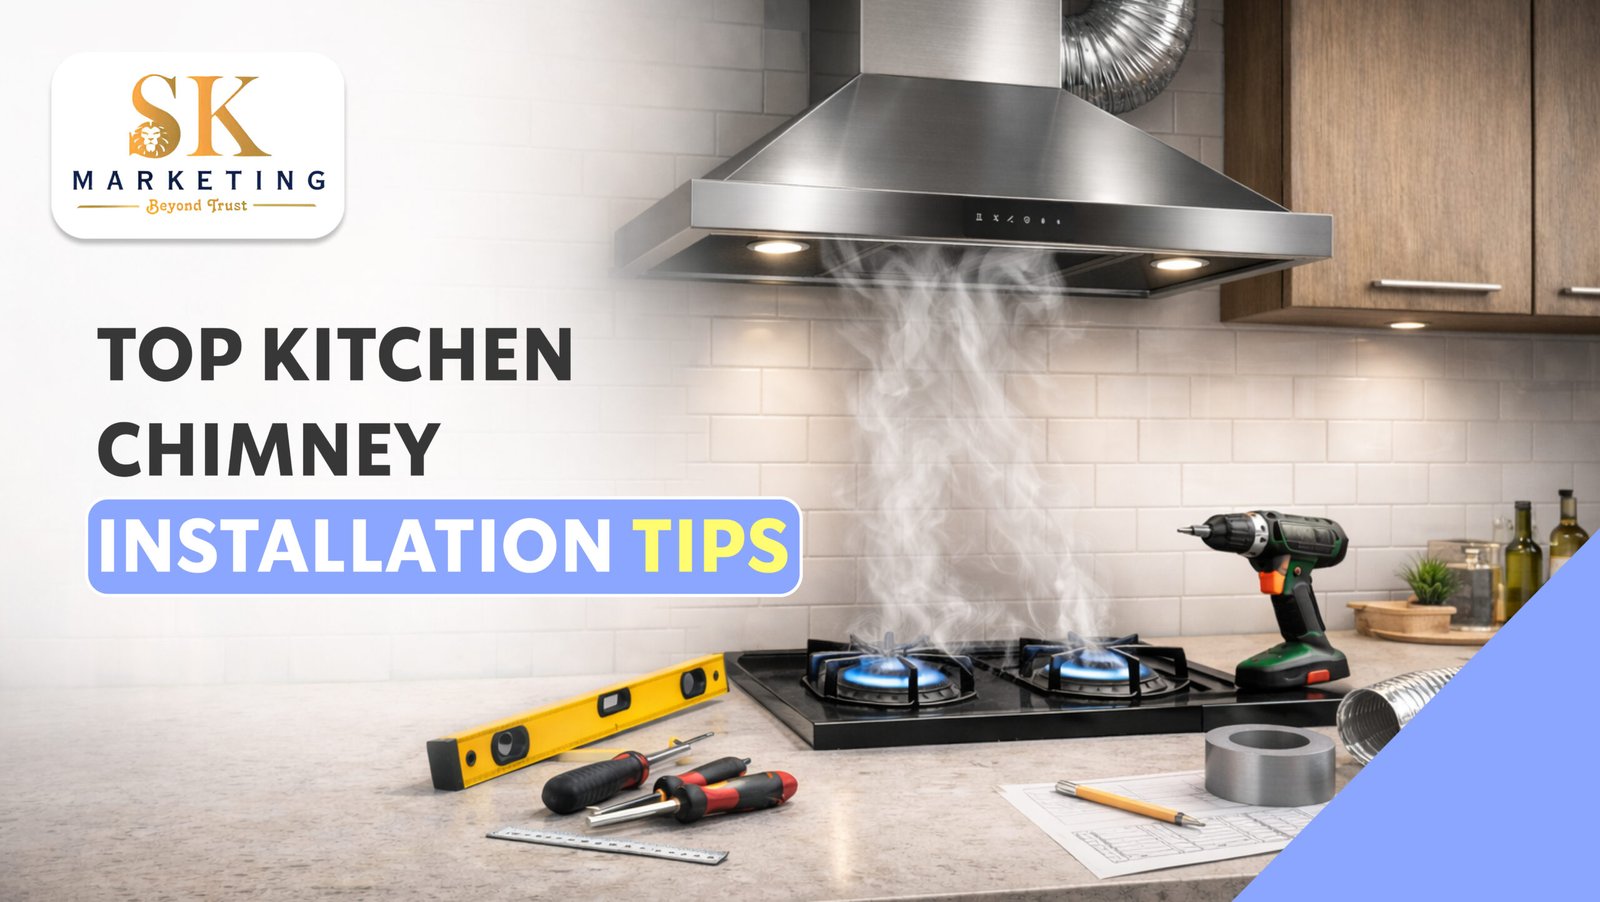
Top Kitchen Chimney Installation Tips: Expert Guide for Madurai Homeowners in 2026
Have you invested in an expensive kitchen chimney only to find it doesn’t effectively remove smoke and odors from your cooking area? Poor installation is the number one reason kitchen chimneys fail to perform as expected, leaving your walls greasy, your kitchen smoky, and your investment wasted.
SK Marketing brings Madurai homeowners expert kitchen chimney installation services for premium brands including Faber, Bosch, and Voltas. Located at DRO Colony Main Road, K.Pudur, our certified technicians have installed over 5,000 kitchen chimneys across Madurai, understanding the unique challenges of Indian cooking styles, kitchen layouts, and ventilation requirements. Proper chimney installation involves precise measurements, correct ducting configuration, optimal height positioning, and secure mounting—all critical factors that determine your chimney’s suction efficiency and longevity. Whether you’re planning a new modular kitchen or upgrading your existing setup, our comprehensive installation guide and professional services ensure your kitchen chimney operates at maximum performance, keeping your cooking space fresh, clean, and smoke-free for years to come.
Understanding Kitchen Chimney Types and Choosing the Right One for Madurai Kitchens
Before installation, selecting the appropriate chimney type for your kitchen is crucial. Wall-mounted chimneys are the most common choice for Indian kitchens, installed directly above the cooking range against the wall, offering excellent suction power and easy installation. Island chimneys are designed for modern open kitchens where the cooking range is positioned in a central island, requiring ceiling mounting and more complex ducting arrangements. Built-in or integrated chimneys fit flush with kitchen cabinets, providing a sleek, seamless appearance ideal for contemporary modular kitchens.
For Madurai homes where Indian cooking involves high-heat preparations with oil-based gravies and aromatic spices, choosing a chimney with appropriate suction capacity is essential. The suction power, measured in cubic meters per hour (m³/hr), should be calculated based on your kitchen size. A standard formula recommends suction capacity of kitchen volume (length × width × height in meters) multiplied by 10. For example, a 10ft × 10ft kitchen with 9ft ceiling requires approximately 850-900 m³/hr suction capacity. Faber chimneys available at SK Marketing range from 600 m³/hr for small kitchens to 1500 m³/hr for large cooking areas, ensuring perfect matches for every Madurai home.
Chimney Selection Factors:
- Kitchen size determining required suction capacity (600-1500 m³/hr)
- Cooking frequency and Indian cooking style requirements
- Kitchen layout (wall-mounted vs island vs built-in configuration)
- Filter type: Baffle filters for heavy Indian cooking vs cassette filters
- Auto-clean technology reducing maintenance efforts by 90%
- Noise levels: Choose models under 58 dB for comfortable operation
Critical Installation Height and Positioning Requirements for Maximum Efficiency
The most critical factor determining chimney performance is installation height—the distance between your cooking range and the chimney’s lower edge. For gas stoves, the optimal height ranges between 26-30 inches (65-75 cm), while electric and induction cooktops require 24-26 inches (60-65 cm) due to lower heat generation. Installing too high reduces suction efficiency dramatically, allowing smoke and odors to escape before being captured. Installing too low creates fire hazards and obstructs your cooking view and movement.
The chimney should be positioned centrally over all burners to ensure uniform smoke capture from every cooking vessel. In Madurai kitchens where multiple burners operate simultaneously during meal preparation, proper central alignment becomes even more important. The chimney width should ideally match or exceed your cooking range width—if you have a 3-burner or 4-burner stove spanning 24-30 inches, select a 60cm or 90cm chimney accordingly. SK Marketing’s installation team uses laser measuring tools and precise leveling equipment to ensure perfect positioning, preventing the common mistakes that lead to poor performance and customer dissatisfaction.
Installation Height Guidelines:
- Gas stoves: 26-30 inches (65-75 cm) from burner surface
- Induction cooktops: 24-26 inches (60-65 cm) from cooking surface
- Chimney width equal to or greater than cooktop width
- Central positioning covering all burners uniformly
- Minimum 3ft distance from side walls for island chimneys
- Wall stud or reinforced mounting points for secure installation
Ducting vs Ductless Installation: Which System Works Best for Madurai Homes
Kitchen chimneys operate in two modes: ducted (external exhaust) and ductless (recirculation). Ducted installation provides superior performance by expelling smoke, heat, and odors completely outside your home through external ducting pipes. This system is ideal for Madurai kitchens with access to external walls or windows, offering 90-95% efficiency in removing cooking fumes. The ducting pipe (typically 6-inch diameter) should follow the shortest, straightest path possible with minimal bends, as each 90-degree bend reduces suction efficiency by approximately 10-15%.
Ductless chimneys use carbon filters to purify air before recirculating it back into the kitchen, suitable for apartments or homes without external ventilation access. While convenient for installation, ductless systems offer only 60-70% efficiency and require regular carbon filter replacements every 3-6 months depending on cooking frequency. For most Madurai homes, SK Marketing recommends ducted installation whenever feasible, providing proper ducting kits, external cowls to prevent rain entry, and weatherproof sealing. Our technicians ensure ducting pipes are properly insulated, securely fastened, and aesthetically concealed within false ceilings or cabinets for a clean, professional finish.
Ducting Installation Best Practices:
- Use rigid aluminum ducting pipes over flexible alternatives
- Minimize bends: maximum 2 bends in entire duct run
- Maintain consistent 6-inch diameter throughout the duct
- Install external cowl with gravity flaps preventing backdraft
- Seal all duct joints with aluminum tape preventing leakage
- Slope ducting slightly outward preventing condensation buildup
- Keep total duct length under 15 feet for optimal performance
Electrical Requirements and Safety Considerations for Kitchen Chimney Installation
Kitchen chimneys require dedicated electrical connections with proper earthing to ensure safe, reliable operation. Most chimneys operate on standard 230V AC power, consuming 150-300 watts depending on motor size and features. SK Marketing’s installation team ensures a separate 5-amp electrical point is installed within 3 feet of the chimney, preferably concealed behind the unit or within adjacent cabinets for aesthetic appeal. The power point should have proper earthing to prevent electric shocks, especially important in kitchen environments with moisture and humidity.
Circuit breakers or MCBs (Miniature Circuit Breakers) rated at 6-10 amps should protect the chimney circuit, automatically disconnecting power during electrical faults. For Madurai homes experiencing frequent power fluctuations, we recommend installing voltage stabilizers or surge protectors specifically for kitchen appliances, protecting expensive chimney motors and electronic controls from damage. Fire safety considerations are equally crucial—maintain minimum clearances from combustible materials, ensure proper ventilation around the motor housing, and never block chimney vents. Auto-clean chimneys from Faber significantly reduce fire risks by preventing grease accumulation on internal components through regular automated cleaning cycles.
Electrical Safety Checklist:
- Dedicated 5-amp power point with proper earthing
- MCB protection on chimney electrical circuit
- Voltage stabilizer for areas with power fluctuations
- Concealed wiring within walls or cabinets for aesthetics
- GFCI protection recommended for enhanced safety
- Regular inspection of electrical connections and cords
- Professional electrician involvement for all electrical work
Post-Installation Maintenance Tips to Keep Your Chimney Performing Like New
Proper maintenance after installation ensures your kitchen chimney continues operating efficiently for 10-15 years. Filter cleaning is the most important maintenance task—baffle filters in Faber chimneys should be removed and washed with warm water and dishwashing liquid every 2-3 weeks for families cooking daily with oil-based preparations. The auto-clean function in premium models heats the oil collector cup, liquefying collected grease for easy disposal, reducing manual cleaning requirements by 90%. However, even auto-clean chimneys need quarterly deep cleaning where filters are soaked overnight in degreasing solutions.
External cleaning maintains your chimney’s appearance and prevents grease buildup on visible surfaces. Wipe the exterior panels weekly using soft microfiber cloths with mild kitchen cleaners, avoiding abrasive scrubbers that scratch stainless steel or glass surfaces. The suction motor generally requires professional servicing annually, where SK Marketing technicians inspect motor bearings, clean internal chambers, check electrical connections, and replace carbon brushes if needed. For ducted chimneys, annual duct inspection ensures no blockages, grease accumulation, or pest intrusion affecting airflow. Our comprehensive Annual Maintenance Contracts (AMC) cover all these aspects with scheduled servicing, genuine spare parts, and priority support ensuring your Faber chimney delivers consistent performance year after year.
Maintenance Schedule:
- Weekly: External surface cleaning with soft cloth
- Bi-weekly: Baffle filter washing for heavy cooking households
- Monthly: Oil collector cup cleaning and disposal
- Quarterly: Deep filter soaking in degreasing solution
- Annually: Professional motor servicing and duct inspection
- Carbon filter replacement every 3-6 months (ductless models)
- Complete replacement of filters every 2-3 years depending on usage